How to: Make an Amazon AWS instance disk bigger
Amazon AWS is an awesome service, but there's a few things that always catch me out. The biggest one is that the default EBS hard drive size is 8GB. Normally this isn't an issue, but when you're using an instance as a database server, suddenly 8GB doesn't go as far as you thought it would do.
Every time I want to make a hard drive on AWS bigger, I go through the same process of clicking through every tab trying to find something to spark my memory of how to do it. Googling for a solution just provides a way to do it with the command line tools, so I've decided to document the process here.
I've fired up a new instance to take screenshots, so just imagine that it's actually a real server with lots of custom configuration done, and not just an empty instance :)
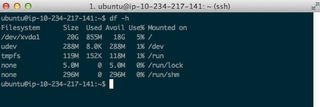
The first thing to do is to log into the instance and run df -h and make a note of the output. The first line is very important for the rest of the process.

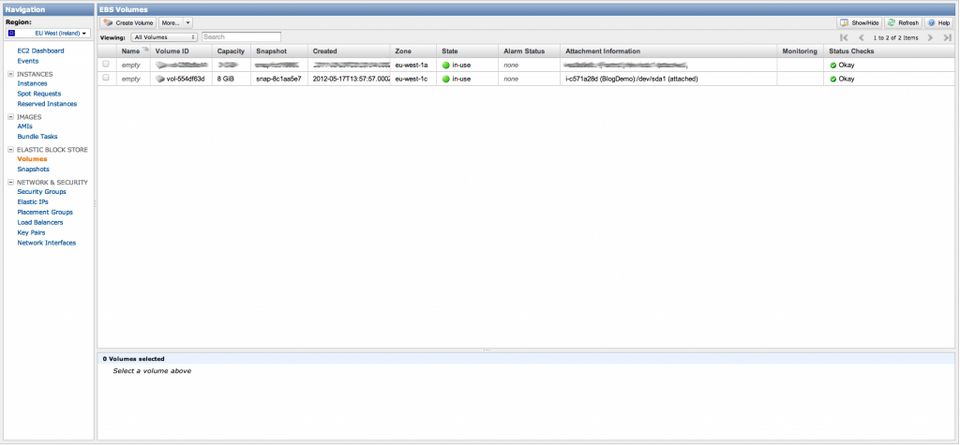
Then, head over to the "Volumes" page and make a note of the Volume ID that is attached to the instance that you want to make bigger.
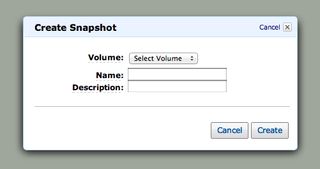
Once you have this, click on Snapshots on the left, and then on Create Snapshot. In this case, we want to make a snapshot of volume vol-554df63d. Give it any name and description, then click on create. The snapshot can be taken whilst the instance is running, but if you have any processes that periodically log to disk any uncommitted data may not be shown in the snapshot.

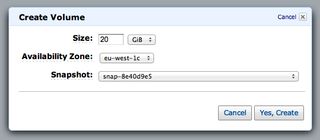
Once the snapshot has been created, it's time to use that snapshot to populate a new AWS volume. So, make a note of the Snapshot ID and head back to the Volumes screen and click on Create Volume. Decide how big you want the new disk to be, then select what zone it should be created in. Make sure to use the same Zone as the current volume is in, as you can only attach volumes to instances in the same zone. Finally, select the snapshot ID of the snapshot you just created (I don't know why they show so many others in the dropdown) and click on Yes, Create.
Unfortunately, we're about to have a little downtime on our instance. Go back to the Instances page and Stop the instance you want to upgrade.
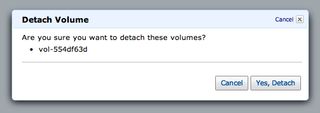
Once it's stopped, go to the Volumes page and find the volume that is currently attached to the instance. Select the instance, click on More… and select Detach Volume. Detach the volume, then once it's done select the new volume that you've just created.
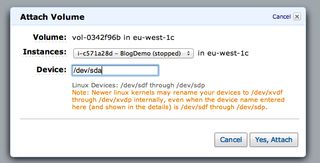
Click on More… once again but this time choose Attach Volume. Select the instance that you want to attach it to, and then choose the device. This will normally default to /dev/sdf, but we want it to be /dev/sda1. We know this, as when we logged into the instance right at the beginning and ran df -h, the filesystem was mounted on /dev/xvda1. It's just a case of replacing the xvd with sd. Click on Yes, Attach and we should be good to go. Time to click on Instances and start our instance again.
With a bit of luck, the instance should boot up fine and you can SSH into it like normal. Be careful, as you stopped the instance it's probably changed it's IP address, so check that before panicing that your instance is broken.
Now that we've attached our new volume and booted up the instance we should be good to go, right? Right! Previously there's been another step, but whilst writing this guide it looks like it's already been fixed. The new HDD size is showing already. If it's not showing your new, improved HDD size, keep on reading.
In some cases, although the disk space is available the OS is not yet aware that it's there, so it's still reporting the old size. On Linux, you need to run resize2fs to let the OS know that the size of the volume has changed.
bash
Once this has completed, run df -h and it should report that you have 20GB of space instead of the 8GB you had before.
